Roll Cage Installation Part #2
Posted on Feb 19, 2016We never thought this project would need a "part #2" when we started it. Guess what? There's going to be a "Part #3" as well!
When we left Part #1 we had the cage fully assembled in the car and had noted a few things to tweak and/or remove. Next we test fitted the seats to see how they would work with the car, with particular interest in how we might mount the shoulder belts since we lost the harness bar. Before we did that we took the covers off to give them a wash. Three years of RallyCrossing had left them less than pristine.
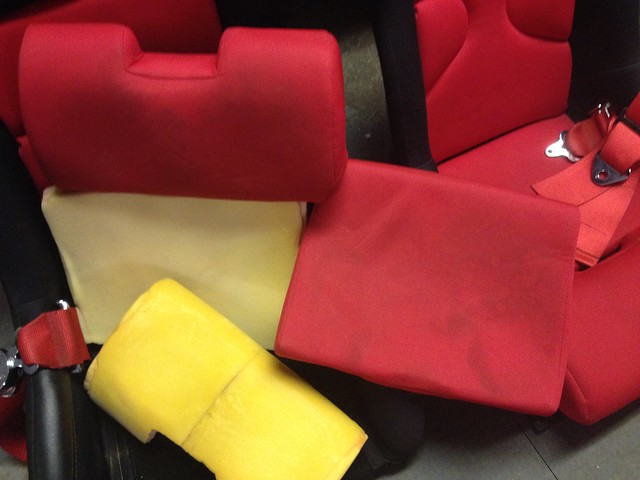 image by Team Illuminata Motorsport, on Flickr
The seats still fit but we are a little flummoxed by the height of the cage's harness bars as they seem too low. The rules say something like 10-20 degrees from horizontal and a short as possible but we think this is out of that range. Maybe we attach to the OE rear seat belt mounts which are 3 feet away and offset to the outside about six inches. More on that in Part #3.
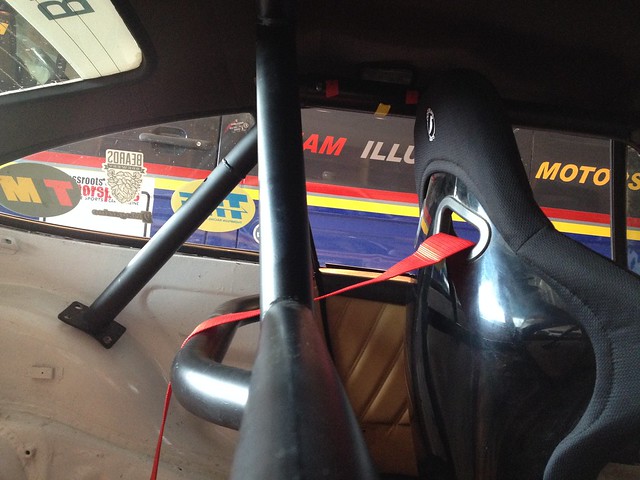 image by Team Illuminata Motorsport, on Flickr
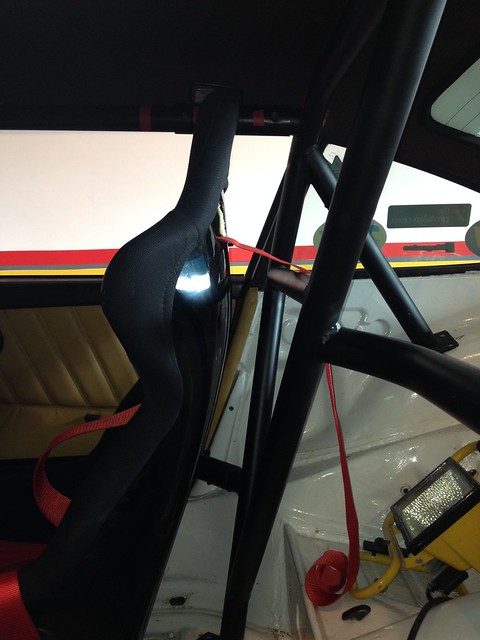 image by Team Illuminata Motorsport, on Flickr
Moving on, we next removed the door bars and door pockets so we could at least close the doors.
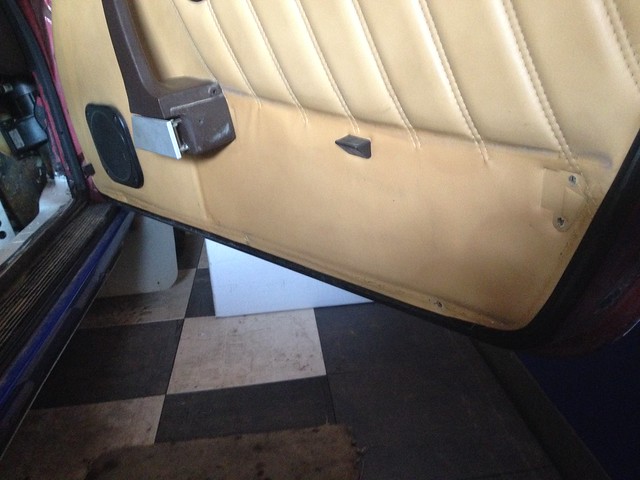 image by Team Illuminata Motorsport, on Flickr
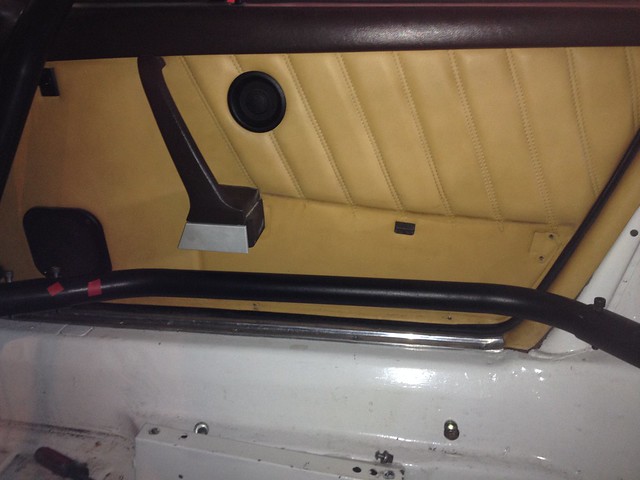 image by Team Illuminata Motorsport, on Flickr
And then started to work on the fitment issues, the main one of which was that the feet didn't want to sit on the wheel wells like they are supposed to.
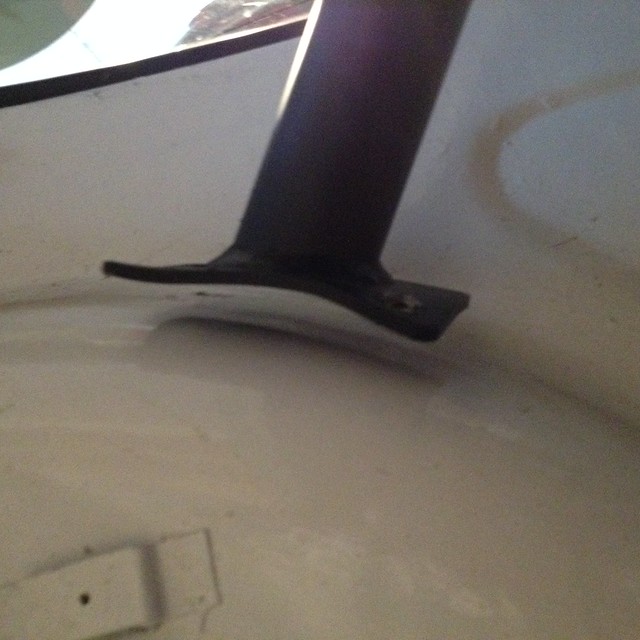 image by Team Illuminata Motorsport, on Flickr
We suspected (hoped) this was because a) the floor was a little high from poor jacking or hitting things and b) the door bars were rubbing on the b-pillar and not allowing the rear hoop to go back far enough. Both of these proved to be the case and were each addressed with the same specialized tool: a BFH, the b-pillars after first removing their tan leather wrap. We'll paint those white like the rest of the interior later.
 image by Team Illuminata Motorsport, on Flickr
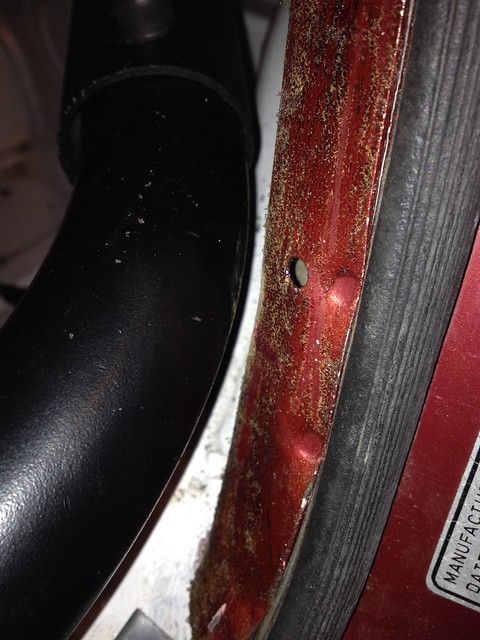 image by Team Illuminata Motorsport, on Flickr
When we left Part #1 we had the cage fully assembled in the car and had noted a few things to tweak and/or remove. Next we test fitted the seats to see how they would work with the car, with particular interest in how we might mount the shoulder belts since we lost the harness bar. Before we did that we took the covers off to give them a wash. Three years of RallyCrossing had left them less than pristine.
image by Team Illuminata Motorsport, on FlickrThe seats still fit but we are a little flummoxed by the height of the cage's harness bars as they seem too low. The rules say something like 10-20 degrees from horizontal and a short as possible but we think this is out of that range. Maybe we attach to the OE rear seat belt mounts which are 3 feet away and offset to the outside about six inches. More on that in Part #3.
image by Team Illuminata Motorsport, on Flickrimage by Team Illuminata Motorsport, on FlickrMoving on, we next removed the door bars and door pockets so we could at least close the doors.
image by Team Illuminata Motorsport, on Flickrimage by Team Illuminata Motorsport, on FlickrAnd then started to work on the fitment issues, the main one of which was that the feet didn't want to sit on the wheel wells like they are supposed to.
image by Team Illuminata Motorsport, on FlickrWe suspected (hoped) this was because a) the floor was a little high from poor jacking or hitting things and b) the door bars were rubbing on the b-pillar and not allowing the rear hoop to go back far enough. Both of these proved to be the case and were each addressed with the same specialized tool: a BFH, the b-pillars after first removing their tan leather wrap. We'll paint those white like the rest of the interior later.
image by Team Illuminata Motorsport, on Flickrimage by Team Illuminata Motorsport, on Flickr
Now everything was falling where it should it was time to drill holes and commit to this cage!!!
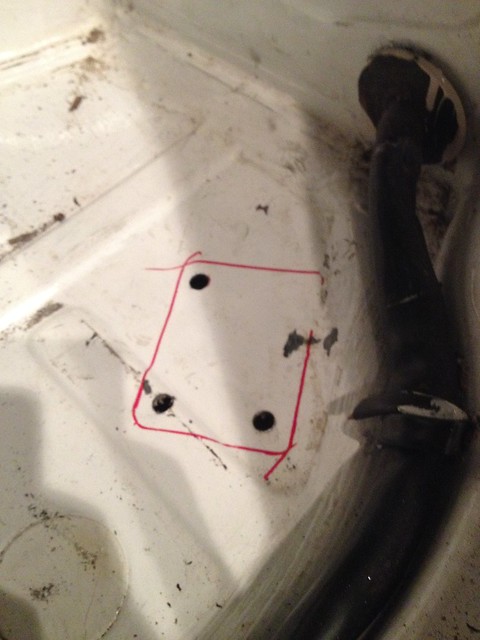 image by Team Illuminata Motorsport, on Flickr
 image by Team Illuminata Motorsport, on Flickr
and then take the whole thing out and reassemble it again so we can paint it.
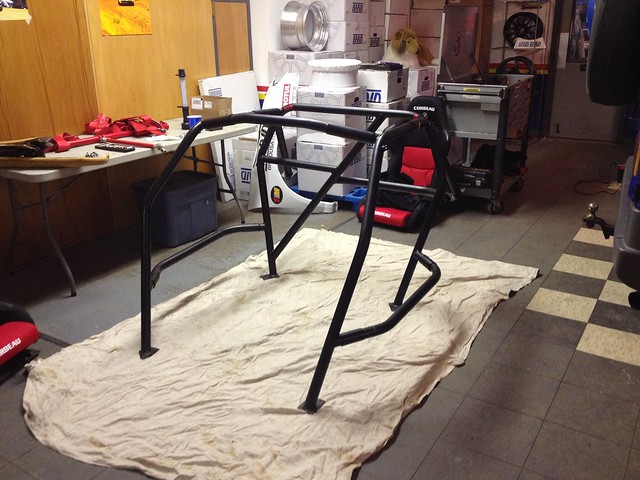 image by Team Illuminata Motorsport, on Flickr
BTW the seat cushions turned out lovely
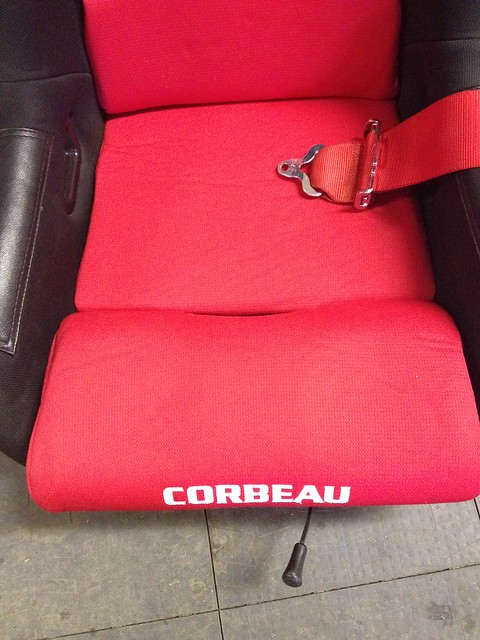 image by Team Illuminata Motorsport, on Flickr
In Part #3 we will finish this project once and for all.
image by Team Illuminata Motorsport, on Flickrimage by Team Illuminata Motorsport, on Flickrand then take the whole thing out and reassemble it again so we can paint it.
image by Team Illuminata Motorsport, on FlickrBTW the seat cushions turned out lovely
image by Team Illuminata Motorsport, on FlickrIn Part #3 we will finish this project once and for all.